
5 Easy Steps For Transplanting Hydrangeas
Written by: Lindsey Griffith
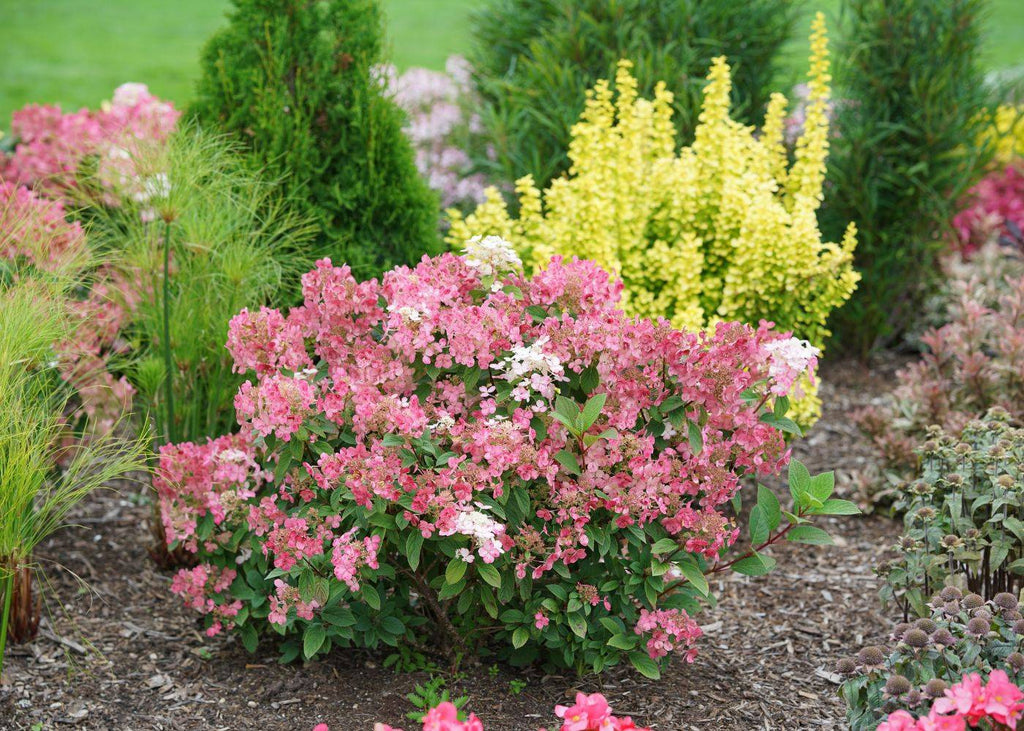
Pictured above: Little Quick Fire® Panicle Hydrangea
Hydrangeas are standout shrubs in the landscape, with their signature large flowers gracing the garden in summer. Once established, these shrubs are easy-going, delivering maximum beauty and effortless curb appeal. Whether you're redesigning your garden or looking to improve your hydrangeas' health, remembering these simple tips during the transplanting process can ensure success. Here, we explain step by step how to transplant hydrangeas in the spring or fall.
Step #1: Transplant In Spring or Fall
For gardeners in the North, the best time to transplant hydrangeas is early spring when the shrub is dormant. Spring is the best season to transplant because it gives the shrub time to acclimate to the new soil site before the summer. Gardeners in the South can transplant hydrangeas in the fall, as winter temperatures are tame and summer temperatures are high, providing the shrub an entire season to acclimate to its new location.

Step #2: Assess & Establish Your New Site
Next, decide on the new planting location for your hydrangea. Consider the soil and lighting conditions of your new planting spot, and whether they are similar or different from those of your previous spot. Remember, hydrangeas prefer morning sun and afternoon shade, as well as moist, well-drained soil.

Step #3: Dig Up The Hydrangea
Now it's time to dig up your hydrangea for transplanting. To start, dig around the base of the root ball, maintaining as much of the root system as possible. Gently pull the rootball up, and avoid shaking out soil. Because you are transplanting in spring before any new growth has emerged, you should be able to move the shrub easily without pruning.

Tip #4: Place In New Location
In your new planting location, dig a hole about twice the size of the rootball of your hydrangea. Remember, it's important to make a hole large enough that the height and width of the hydrangea rootball are not crowded. Next, place your hydrangea inside, and pack well with soil, leaving the crown above ground as it was in its previous location.

Tip #5: Care After Transplanting
After transplanting in spring or fall, water deeply to settle the soil, then water consistently (about once a week) to keep the soil moist. Consider adding about 2-3 inches of mulch to regulate temperature and conserve soil moisture. Continue to monitor for signs of stress, such as wilting or leaf drop, while the hydrangea re-establishes in the landscape.
